THIS VERY OLD HOUSE REMODEL
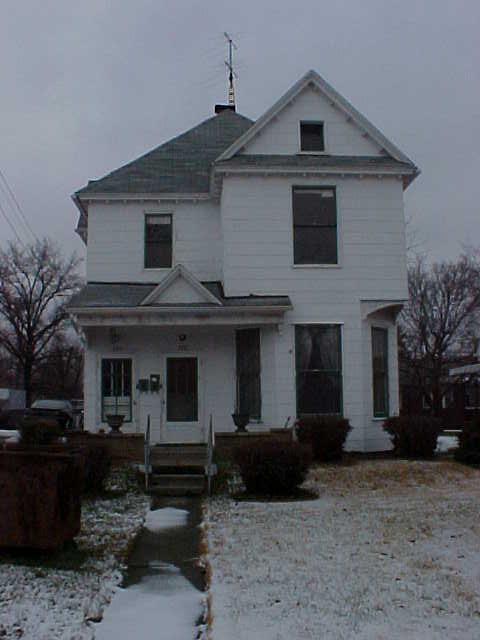
We bought the worst house on the nicest street in my hometown. Built in 1866 and remodeled several times, it was a mess. We have previously remodeled houses but it was usually somewhat limited. This time we agreed that if we were going to remodel, it would be an all out, strip it down to studs, and do-it-right kind of a job.
I also have to note here is that the remodel has taken a considerable amount of time. Except for a few items, I have done ALL of the work myself. I have found that most contractors don't want to get involved with renovation work, it's not as profitable as new construction. I tried on several occasions to hire out certain jobs, but couldn't get anyone to call, show up, or give me a reasonable price.
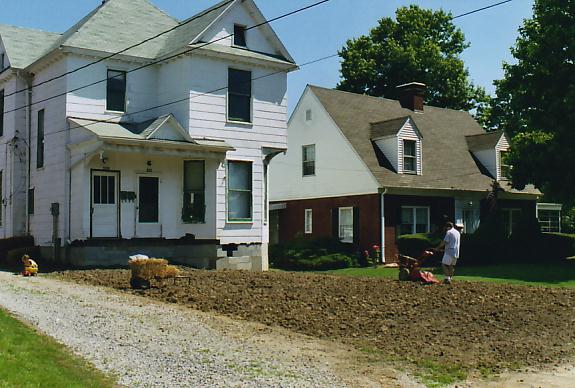
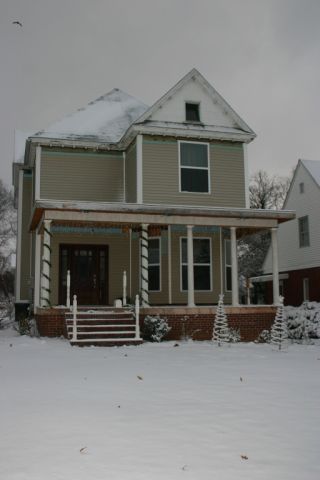
Front:
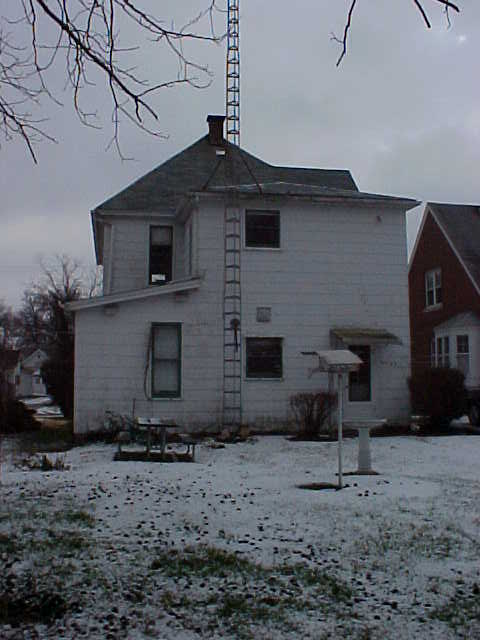
Back:
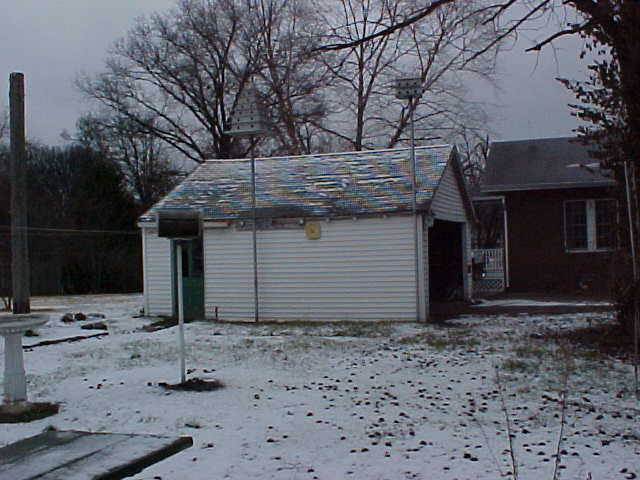
Garage:
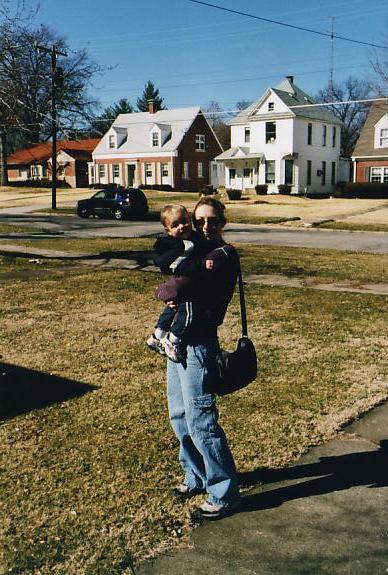
FEBRUARY 2002
MARCH 2002
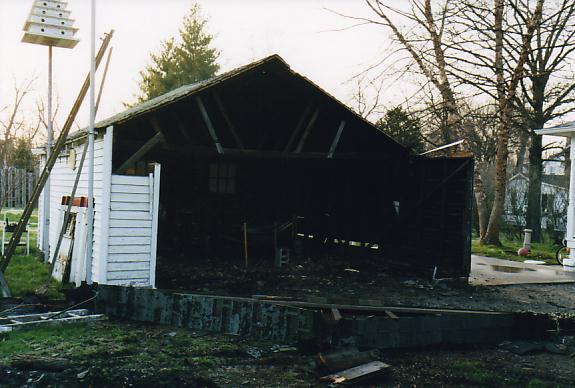
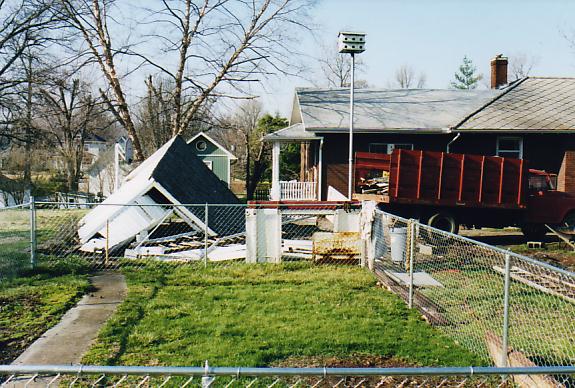
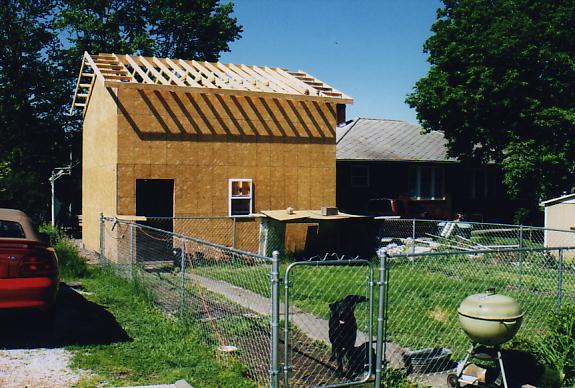
Priorities straight, I started with the garage. I convinced her that all this demolition work would require an appropriate means of disposal. For $900 I bought this 1961 IH dump truck. Although it's requires a little TLC to keep it working, it's paid for itself.
APRIL 2002
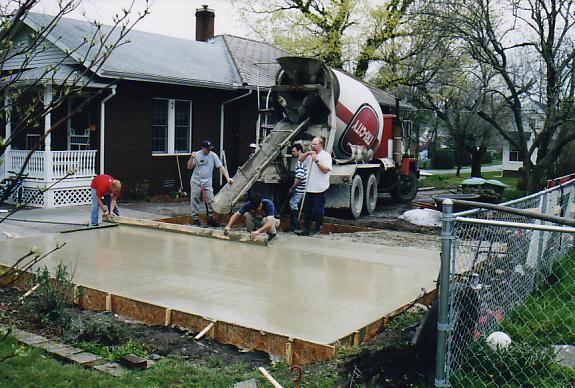
With the old garage gone, time for a new pad. I formed for a 5" thick pad with reinforcement mesh, and went over 12" deep around the edge. It was overkill.
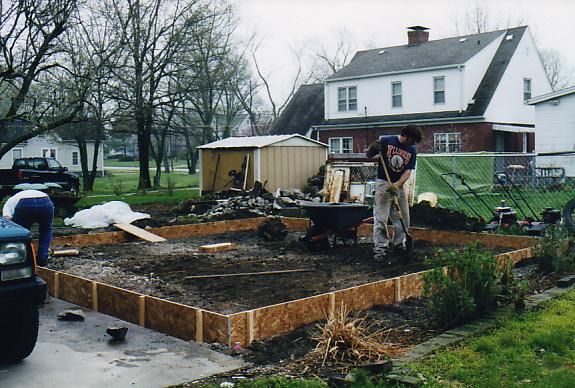
Thanks Jeremy, Dave, Aaron, Gerad, and Bruce.
MAY 2002
There is a 20 foot long 2x12 ridge beam on that garage. Thanks Dave for the help getting it into place.
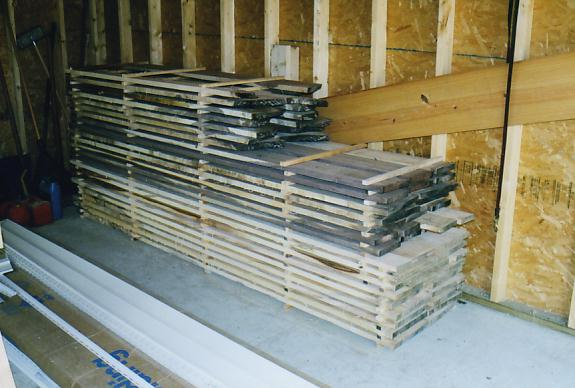
Actually, the first thing that was done to the property was to remove a walnut tree out of the backyard. I saved the main trunk (and a maple log from my Dad's house) and paid a local guy with a bandmill to saw it into boards. I ended up with about 750 boardfeet of walnut and maple and paid about $75 to the sawyer.
SEPTEMBER 2002
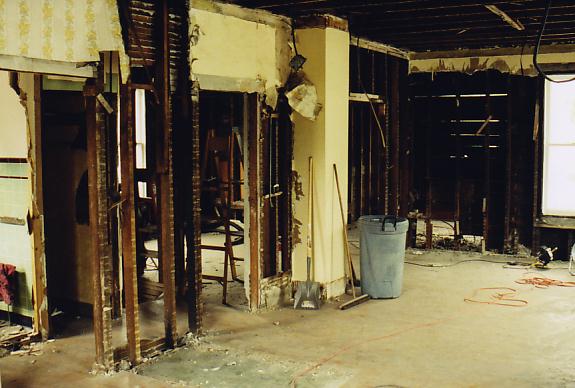
The house was split into two apartments, one upstairs and one down. We lived downstairs and this allowed me to gut the upstairs. The house also had only a five and a half foot basement and the foundation was the original brick. It leaked pretty badly and was wet for days after it rained.
I wasn't about to do any major drywall work on a house sitting on a failing foundation, so the first step was to replace the basement. The goal was to raise it, dig it out, and pour a new one. This starts with the removal of the 50 foot chimney since it can't go up with the house. This was done brick by brick.
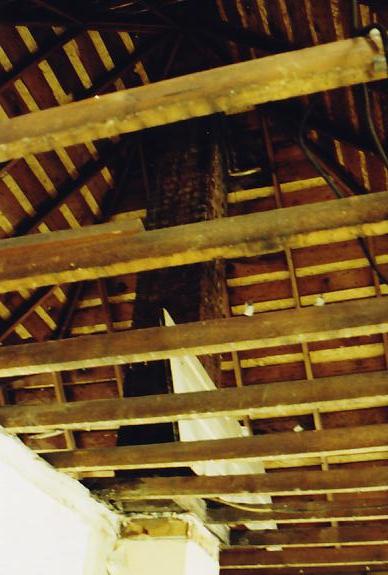
Plaster removal upstairs. This kept me busy until the house raisers could get me scheduled in.
DECEMBER 2002
In preparation, I rented a skidsteer for the month and I dug out the front yard.
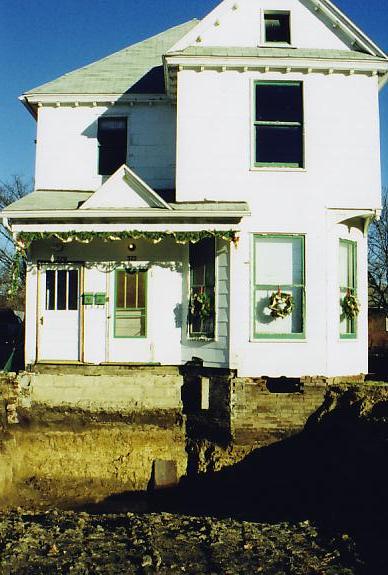
Also, since I was lowering the basement floor two feet, I had to dig two holes five feet by five and down two feet where the cribbing would sit. This is done so that when the ground is dug down to that level, the cribbing wouldn't be sitting on a raised column of ground. It rained during the digging so they filled with water. If it wasn't for the floor drain, I think I would have a swimming pool down there every time it rained. Abouth this time, we moved out of the house since the power and plumbing get cut when the house is raised.
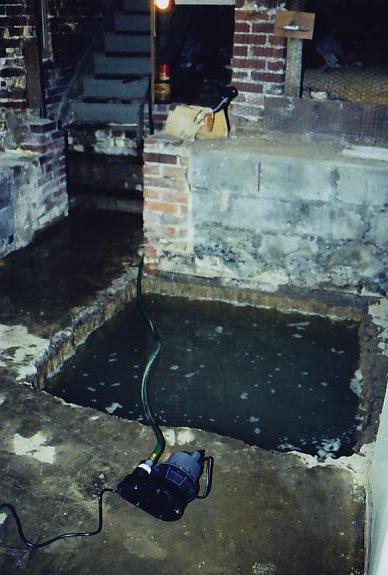
Holes were knocked in the sides of the foundation and two 45' long I-beams were inserted.
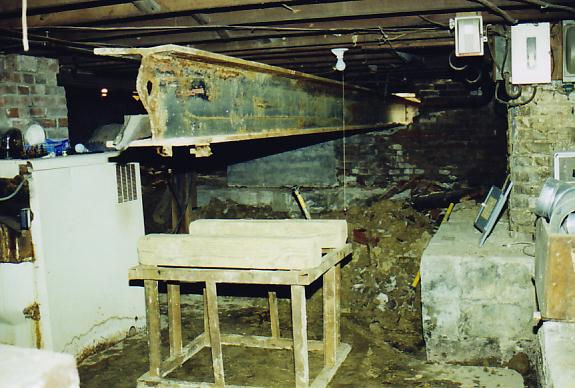
This is the support cribbing.
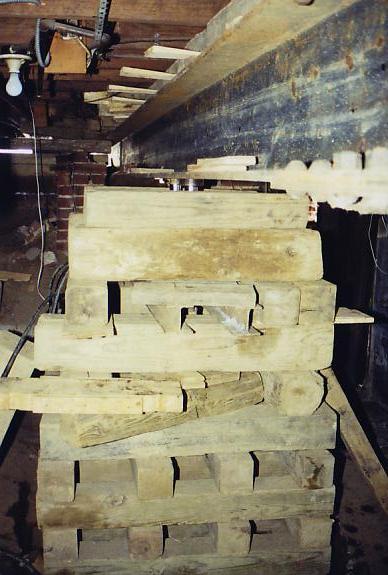
The method that they raised the house used three lift points. The two main ones inside the basement were very close the the center of gravity of the house and they had most of the load. The two beams outside were connected with a third I-beam and C-clamps and allowed the third lift point. Temporary cribbing was placed to facilitate this. They did this because three points allows the lift to happen one jack at a time without racking the house. Lifting one jack at a time makes the raise simplier.
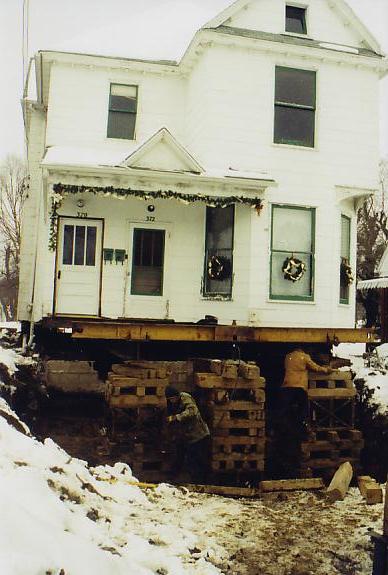
The house raised and the temporary center cribbing removed.
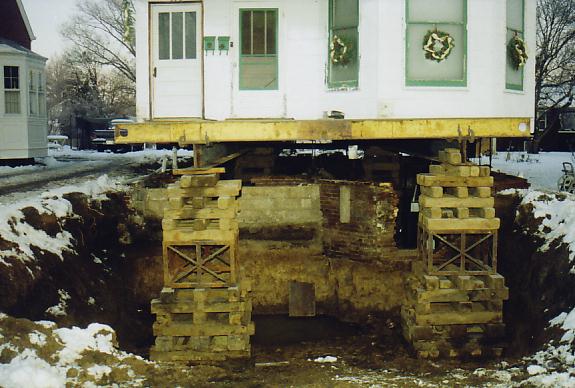
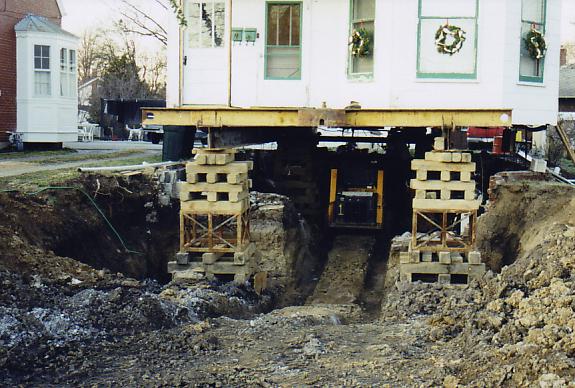
The removal of the foundation took me about two weeks after hours (I do have a day job). Most of the work was sledge hammer, load the skidsteer by hand, dump the bricks in the dump truck, and drive them to a place outside of town. It wasn't until most of the foundation was gone was there enough room to really operate the skidsteer and even then, a sledge hammer and hand loading was usually necessary.
JANUARY 2002
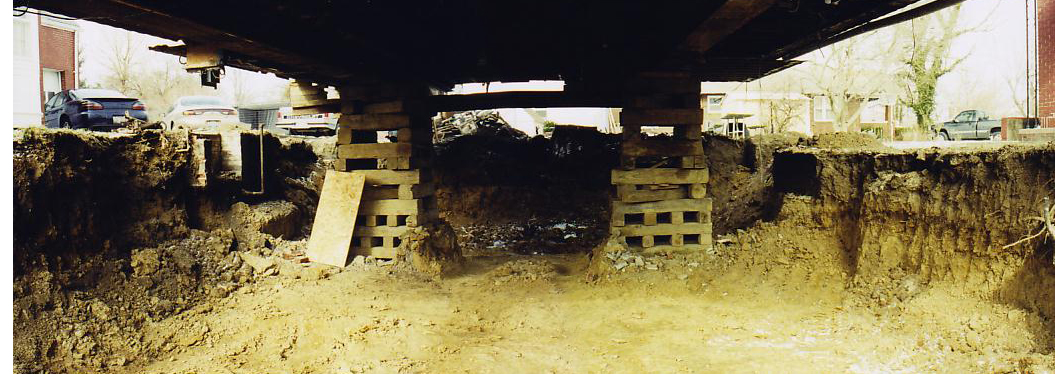
Foundation gone! At this point, the skidsteer I rented had broken welds (they apparently had been broken before) and so I called my concrete guy and his son to finish up. They lowered the hole two more feet. It was all frozen clay so I'm glad I called someone else.
FEBRUARY 2002
I had done all the footer form work myself but concete waits for no man and you need help. That's me just watching.
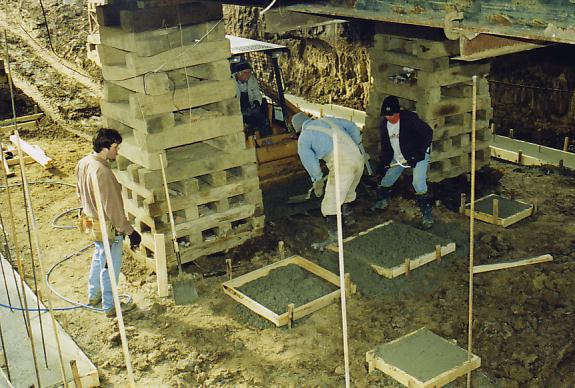
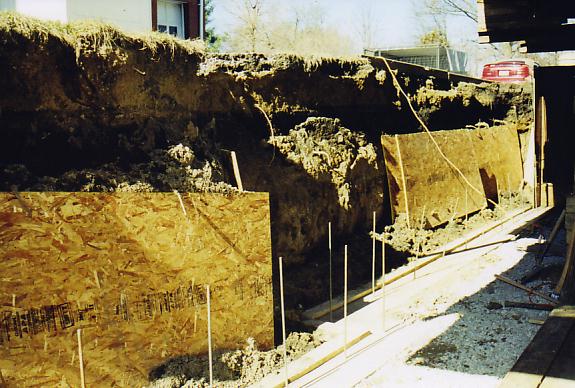
The walls were nice and stable until one weekend where the temperatures soared and everything thawed. This caused my nice square sided hole to crumble and cave-in. I had planned to do the form work myself but I know when I'm beat and I called in the crew again. They had it ready for pour in two days.
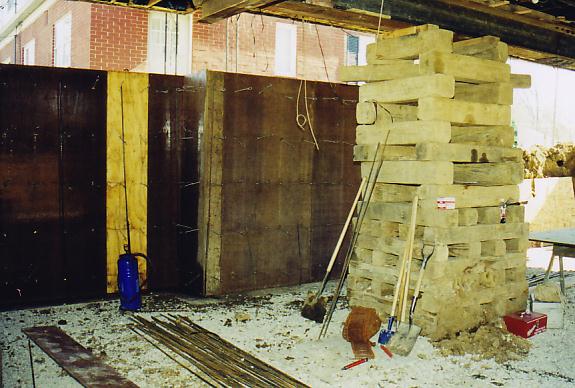
Concrete in the forms. My wife and I were so happy this day.
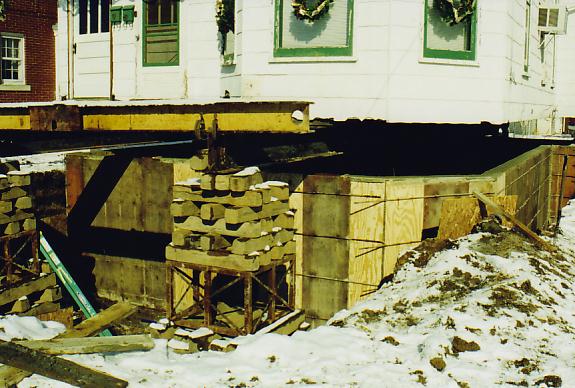
MARCH 2003
The plan was for 9'-4" walls which gives 9' interior walls after the floor is poured. The simpliest way to do this is with two courses of block on an 8' wall. The block also allows opening for the steel which is still holding up the house. Also, the basement walls were tarred and drain tile installed.
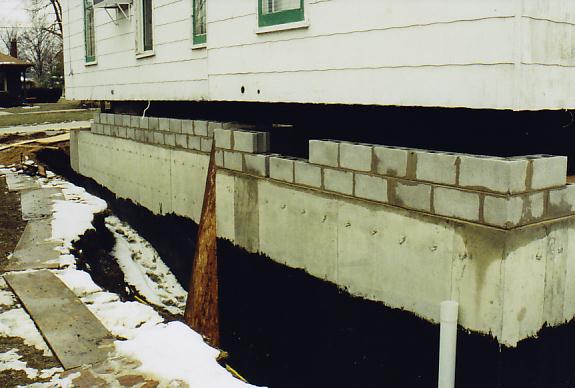
I ordered some steel beams to support the interior structure with the least amount of columns in the basement.
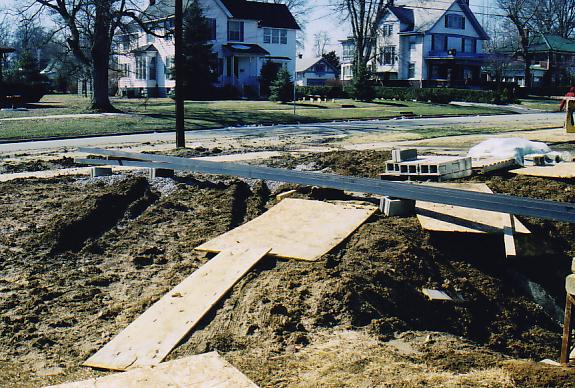
These were cut, placed on 4" schedule-40 steel pipe columns, welded, and readied for the house to be lowered onto them. Thanks to Jeremy and Eric for helping lift these into place.
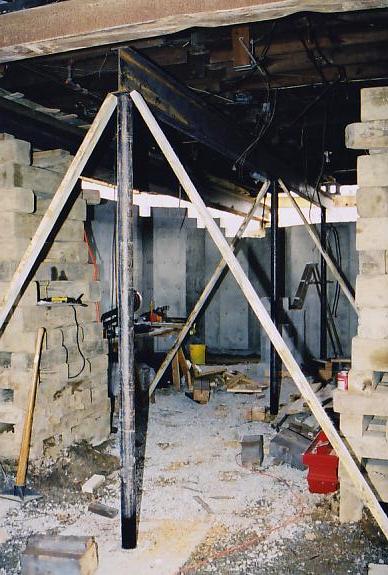
To lower the house, the center cribbing was re-installed. This picture shows the blocks left out for clearance of the I-beams.
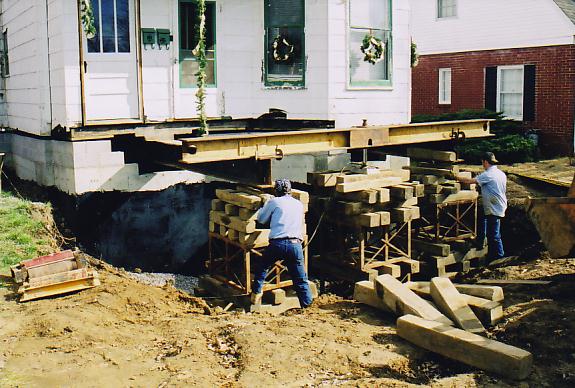
With the house down, out come the beams. This is another one of those "thank God that's over" kind of days. Three months of stress, working alone in the dark after work, and I was ready to be finished.
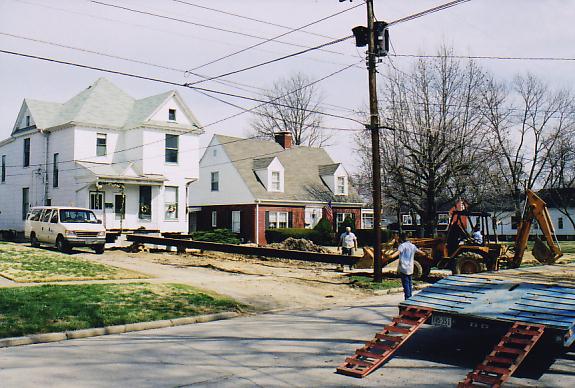
APRIL 2003
On to other things. Since my front yard was trashed, I trenched in for underground power service. Shown here is the trench from the house out to the garage.
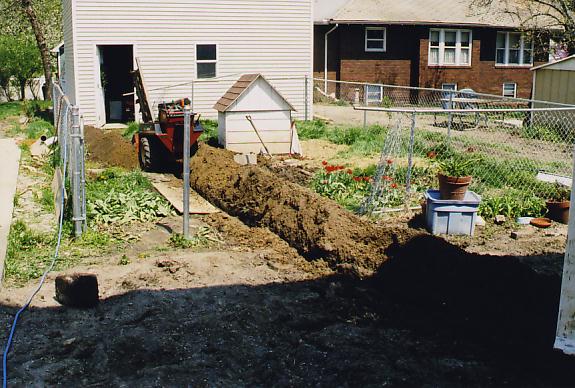
I had burried all the necessary waste plumbing, the groundwater sump, and the sewage sump. I will never dig a hole in clay again as long as I live. With that done, the guys were called to pour the floor.
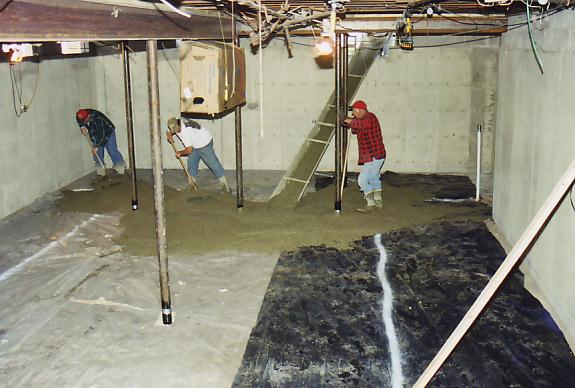
In goes new electrical service and plumbing.

MAY 2003
Here's one of those another-damn-thing kind of things... with the house raised, the back door is now two and a half feet off of the ground. My wife was seven months pregnant and wasn't climbing a ladder, so the new deck had to be built. The cool thing was that it was a three day weekend and my buddy next door was also building a deck. We helped each other and drank a little beer, it was nice.
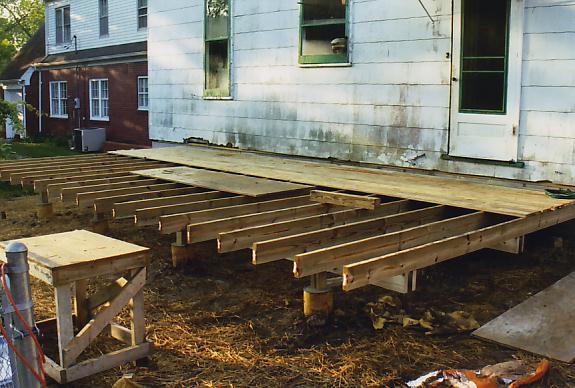
JUNE 2003
The yard is back in place.
JULY 2003
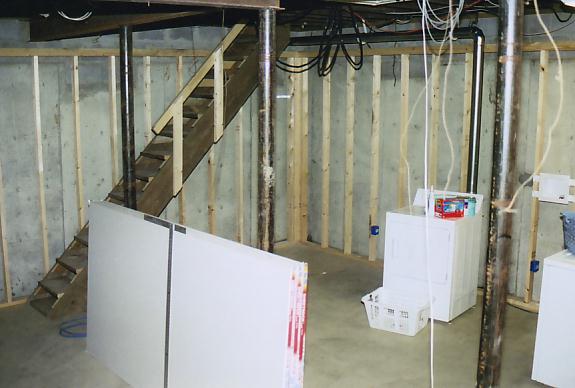
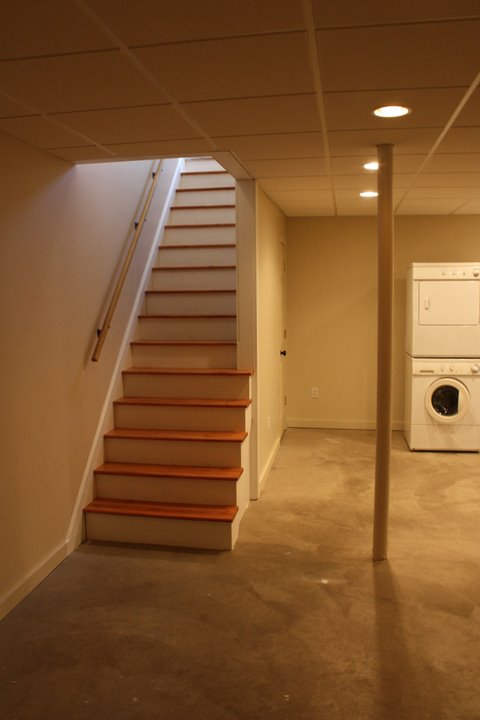
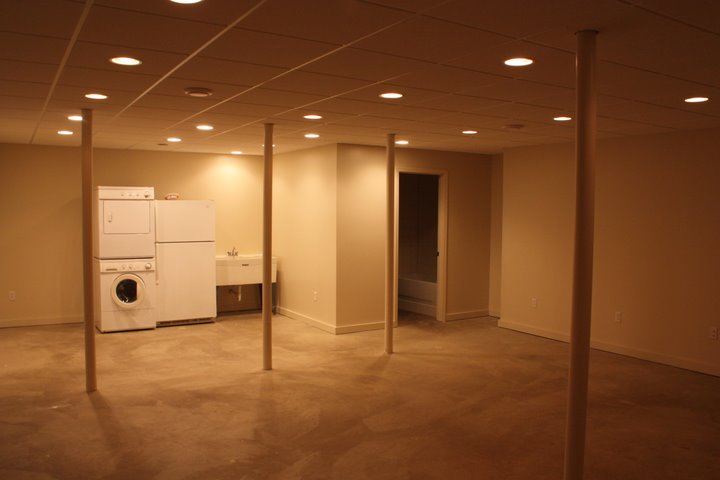
The basement was framed with a laundry room, a new bathroom, and one big family room. It was wired, drywalled, and painted but the carpet and drop ceiling has to wait until the rest of the house is finished. When complete, it will have an 8' finished ceiling.
MAY 2004
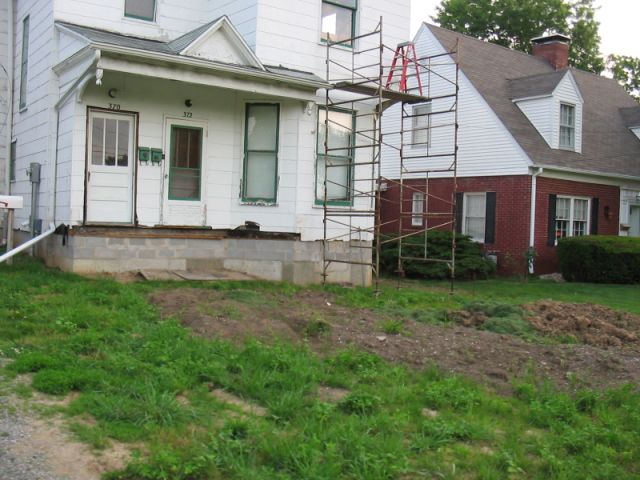
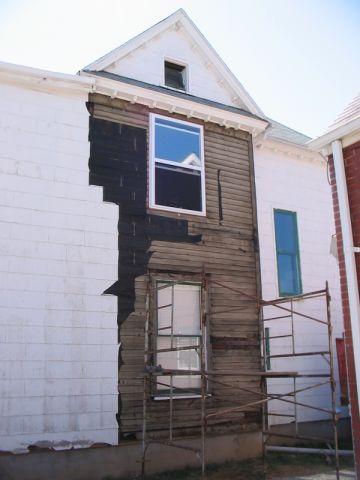
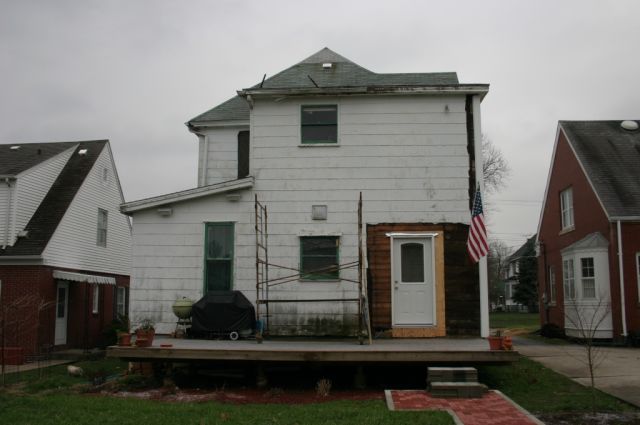
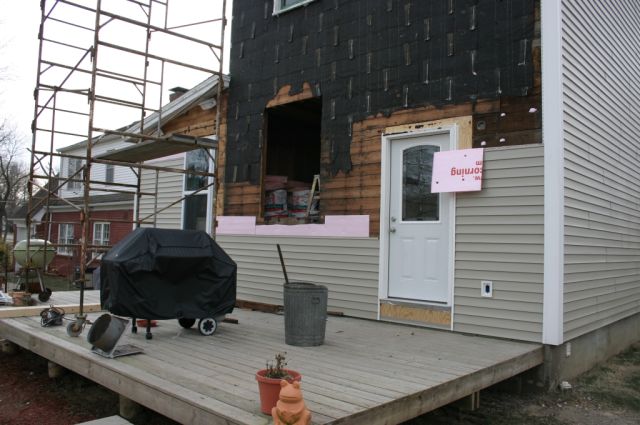
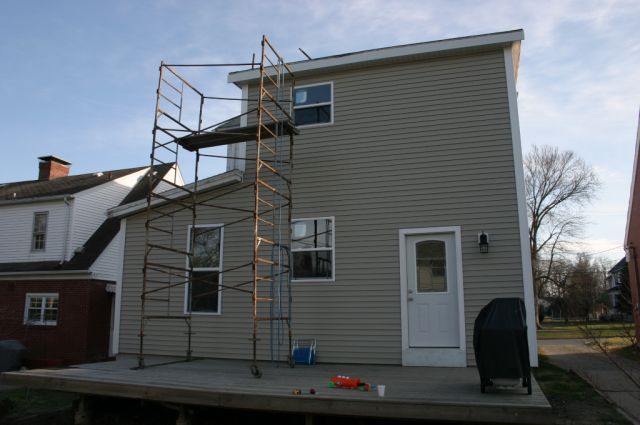
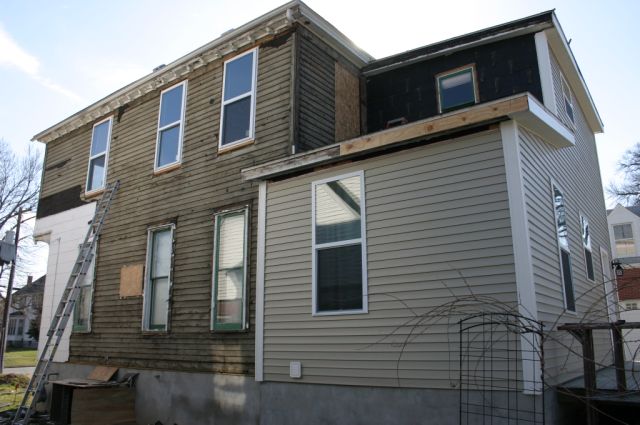
Time to take off the asbestos siding
SEPTEMBER 2004
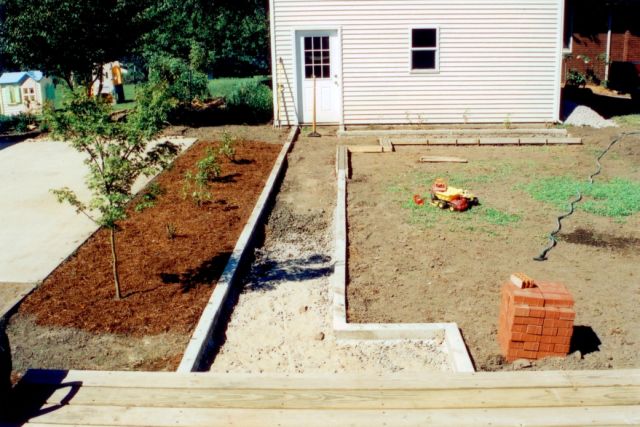
Bored of siding, started to work on the back yard. I formed, mixed, and poured a concrete curb. In between, I placed, packed, and leveled limestone fines as a bed layer for pavers.

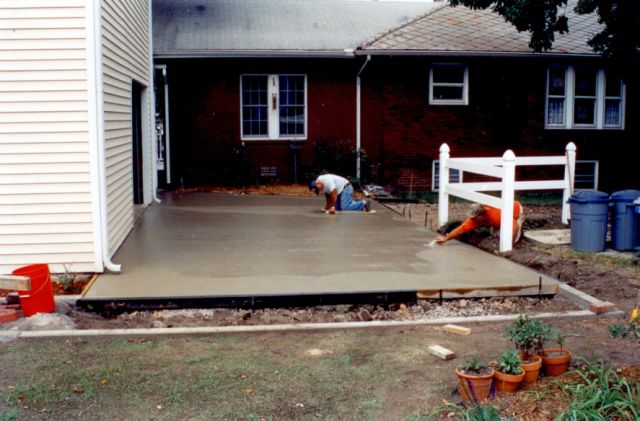
At the end of the walk, the driveway was going to be used as an edge... so the driveway had to be put in.
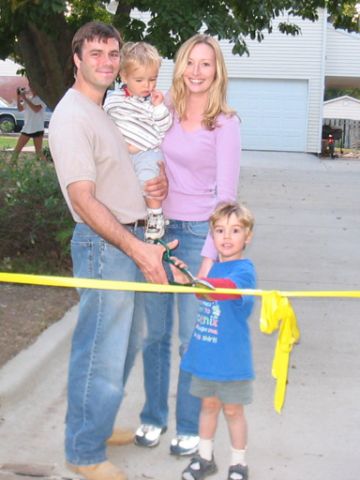
My neighbors organized a ribbon cutting ceremony for the driveway; it was a nice thing.
JANUARY 2005
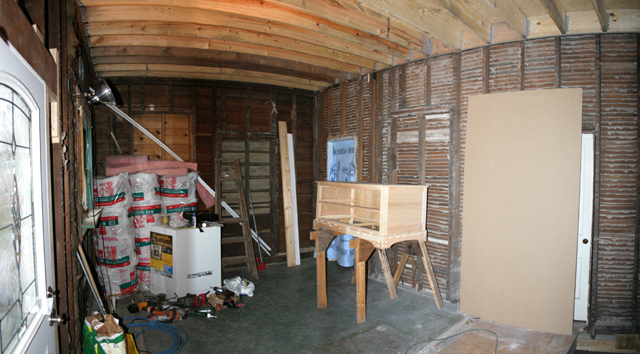
By this time, I had completely gutted the kitchen, the back stairs, and the partition wall between the two. Because of this, the floor/ceiling above this had to come down since it was loaded on the partition wall (what a dumb thing to do). The following shows the new floor/ceiling structure and a piece of furniture I'm working on.
Back to siding.
JUNE 2005
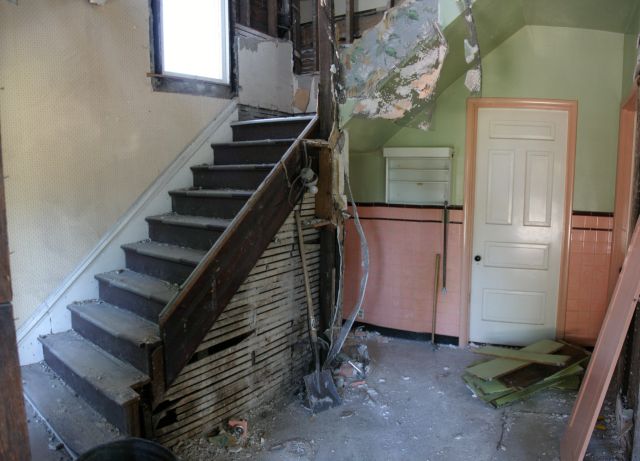
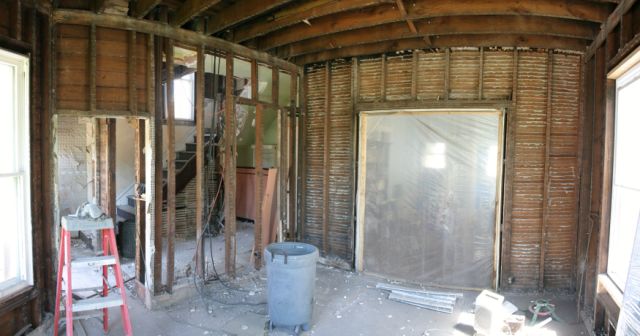
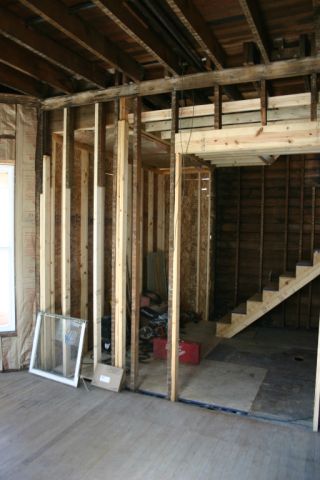
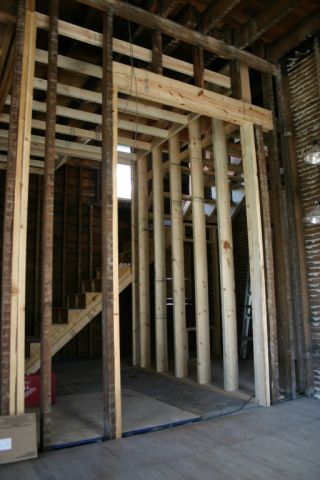
Working on the foyer and living room. Prior to these pictures, there was a pink and green colored full bathroom in the place where the foyer should be. This came out.
JULY 2005
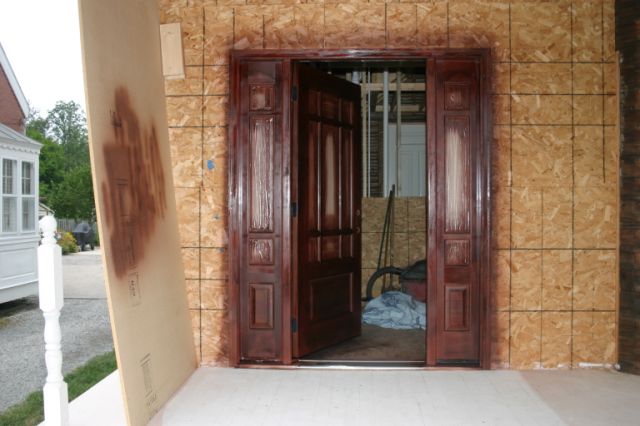
The problem with remodeling is that you can't finish something unless something else is finished first. In this case, the foyer can't be finished until the front porch is complete since some of the foyer will be located under the new porch roof.
So now on to the porch:
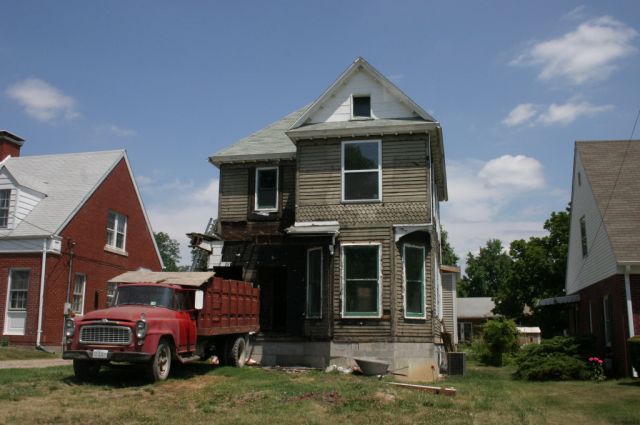
This is a significant point in my life for me (and this may be the only time I mention it on this website). I had been slaving on this house for a few years, I have been dealing with the guilt of a wife and two young sons living in this hell hole, I was stuck in a job that I dreaded to go to but we needed the money, and I had a few health problems. While working on the basement, I had destroyed my knees (I could barely climb stairs for months and they took years to heal). When I knocked down this porch, I filled my lungs with dust and ash and had seriously irritated them to the point I was short of breath. This was compounded by the thought that I may also have asbestos in the lungs.
As a result, the following Sunday in the middle of church I had my first panic attack.
These got progressively worse until I found myself in the Hospital just to make sure I wasn't having heart problems. I eventually told my Dad about it. Without looking up from what he was reading, he just said "Welcome to the club". Over the next year, I found that about half of my friends were also in the club. I've changed my job, kept my health up, and generally taken it easy and have the old panic under control.
This house will be the death of me.
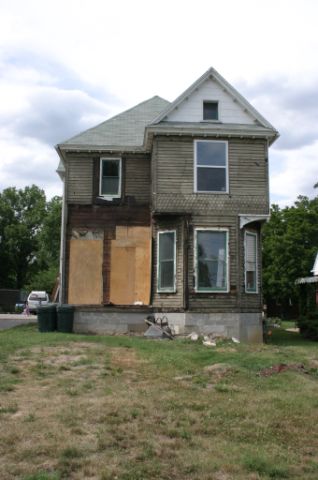
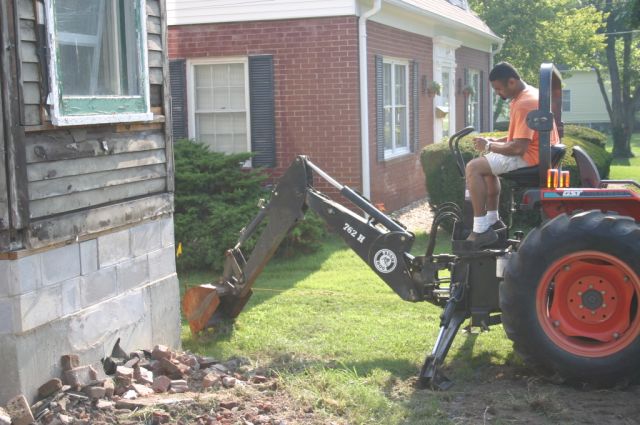
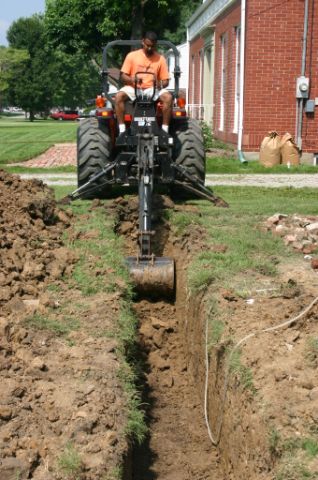
My friend Praveen has a tractor with a backhoe. Thanks Praveen.
AUGUST 2005
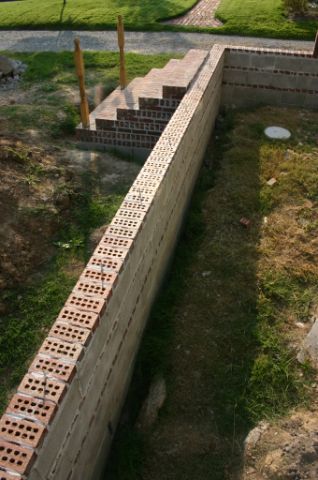
No masons would return my calls. So I had to learn how to lay brick.
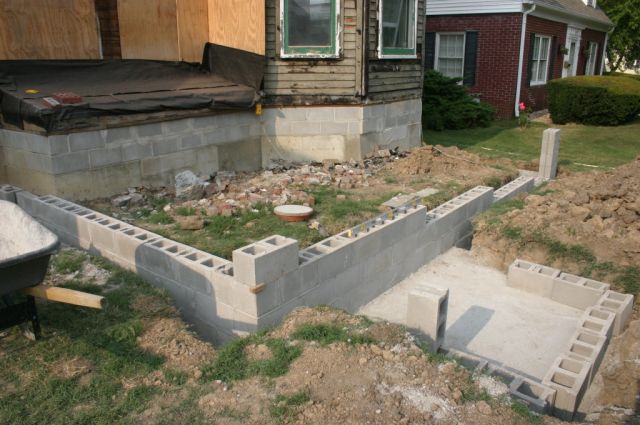
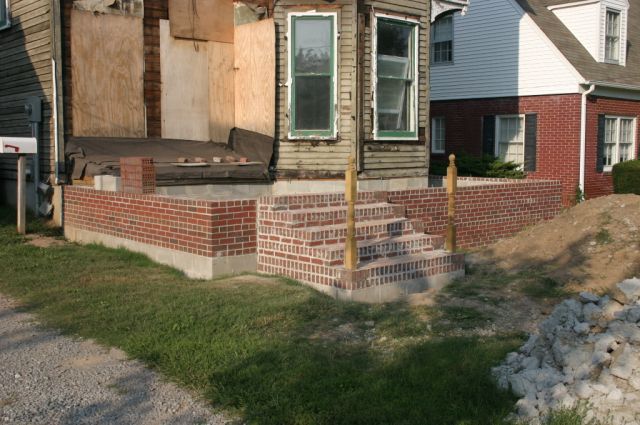
Not too bad.
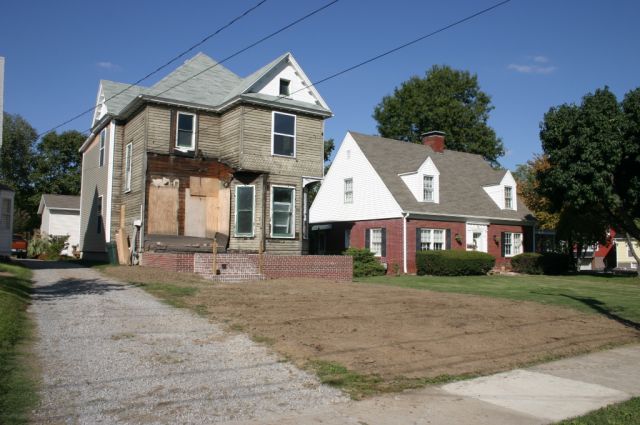
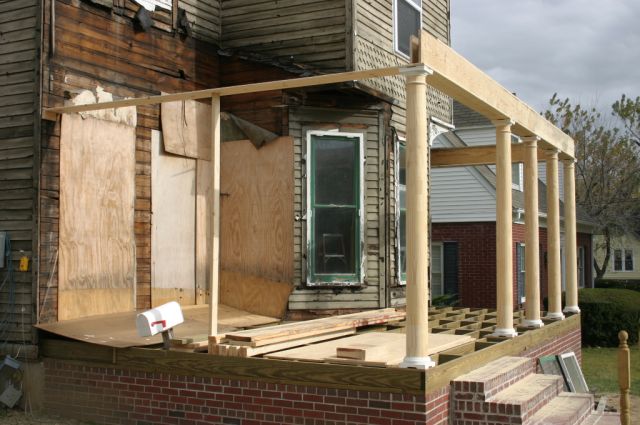
Now up with the porch roof.
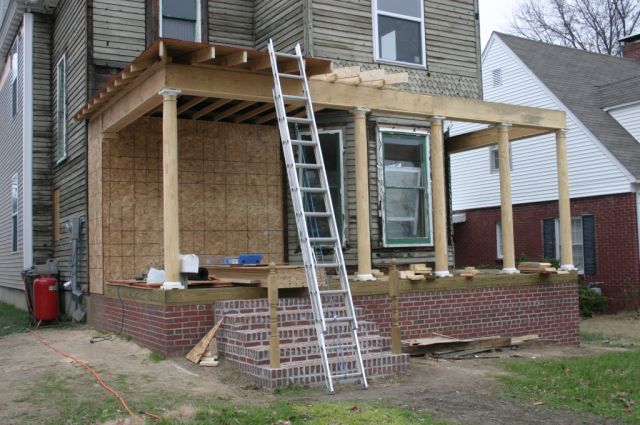
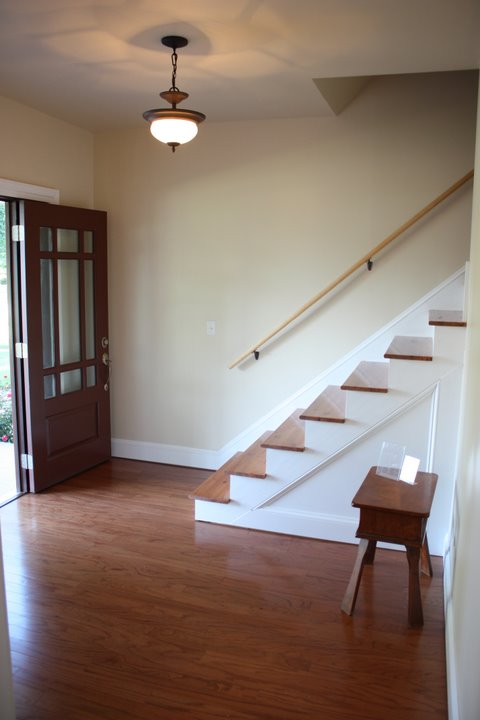
The foyer with new wall and stair framing:
AUGUST 2006
NOVEMBER 2006
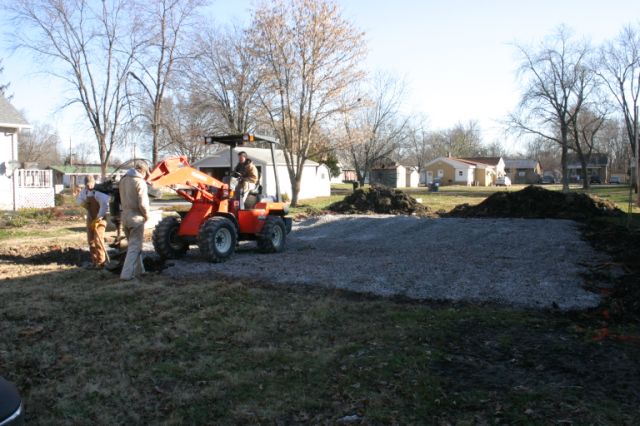
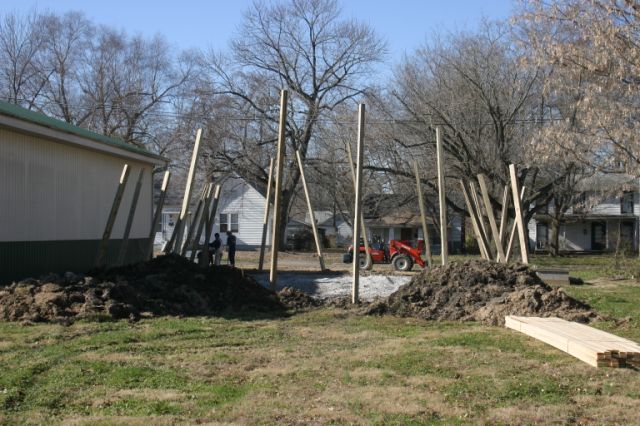
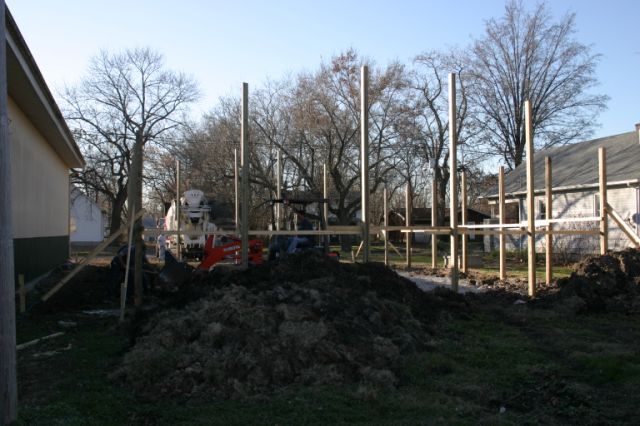
I don't know how house related this is, but I bought a piece of property on the other side of town so that I would have a place to build a workshop and start a second small business (Haines Industries). It's just another thing I'm working on so I figured I put it on the website.
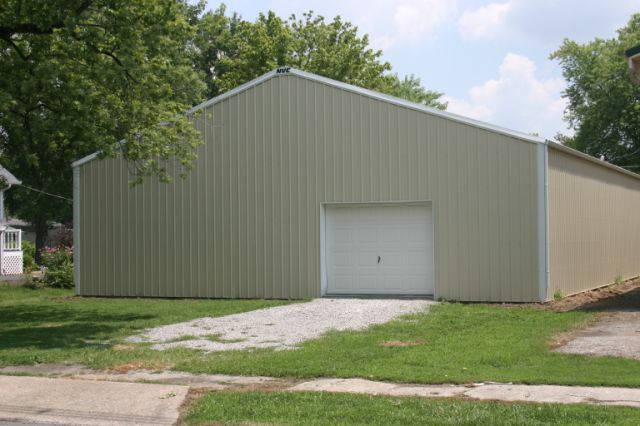
The difference here is that I simply paid someone to put the building up. I helped with the concrete slab and did everything else inside, but I'm just too tired of digging in the dirt and climbing ladders to try to build a whole building.
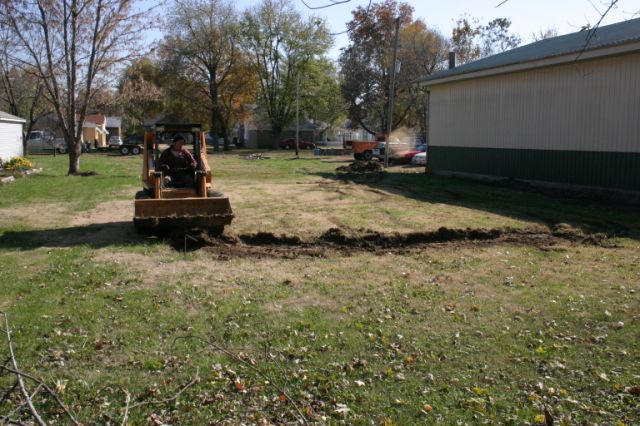
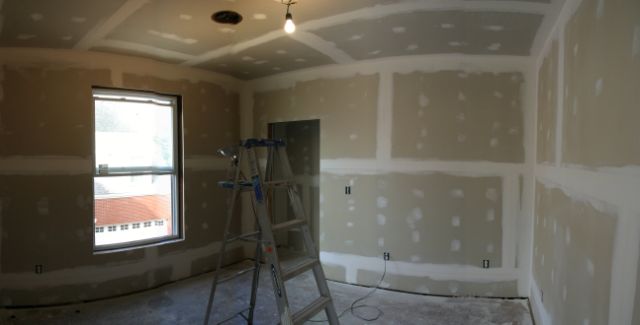
While the workshop was being built by others, I worked on finishing upstairs bedrooms.
Ahhh, progress without me doing anything:
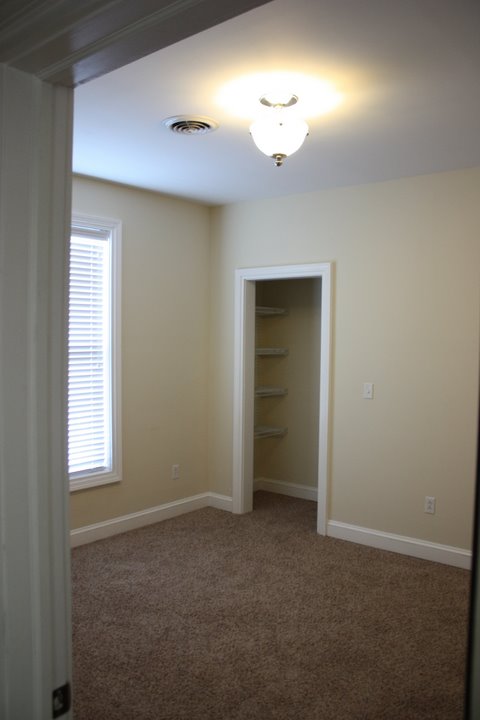
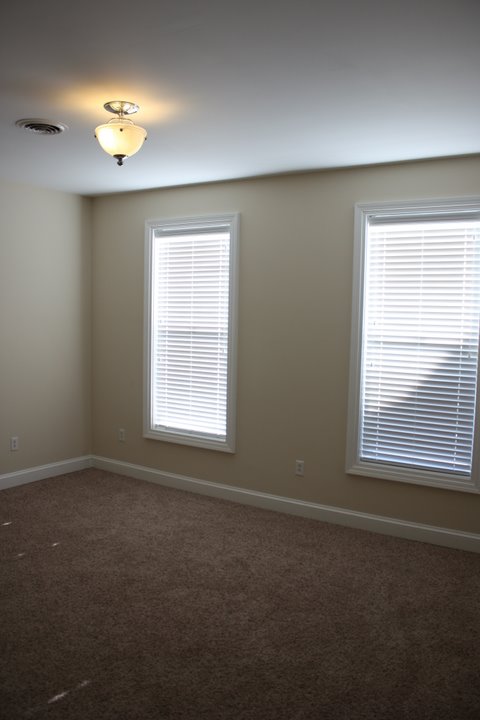
About the same time the workshop was finished, I finished the boy's bedroom and the guest bedroom.
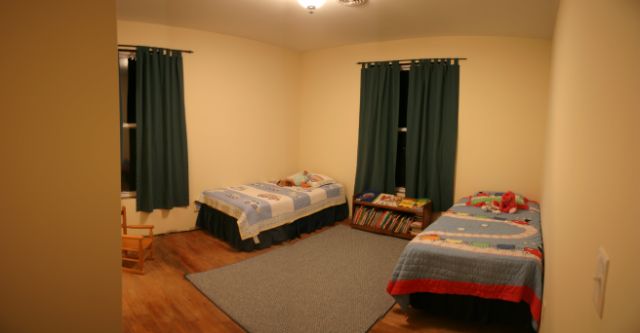
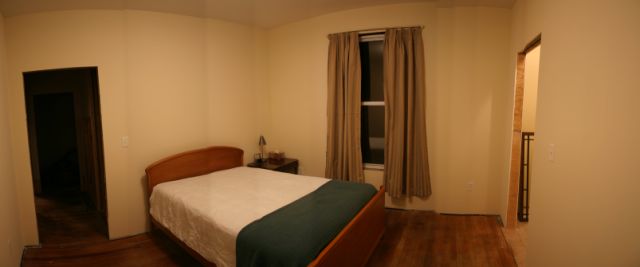
The with workshop building completed, I added the wiring, lights, and framed in a finishing room. This will be used to keep messy tasks (sandblasting, minor painting, etc.) from getting all over the rest of the building.

MAY 2007
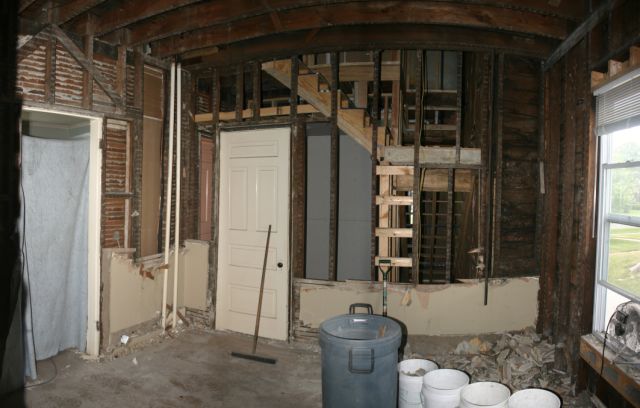
It occured to me that if I knocked out plaster in two more rooms, I would be completely finished with demolition... and then I could get rid of my dump truck.
JUNE 2007
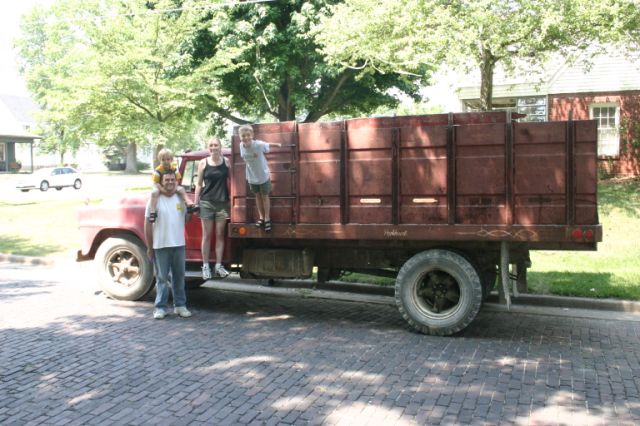
After taking trees to the saw mill, removing my garage, removing my chimney, relocating my front yard, removing a basement, removing all the plaster in the house, removing the stairs and floor at the back of the house, removing the stairs and floor at the front of the house, removing every window, siding, rotten board, and everything else that the neighbors threw in, I was finished with Old Red.
This was the last day we had it:
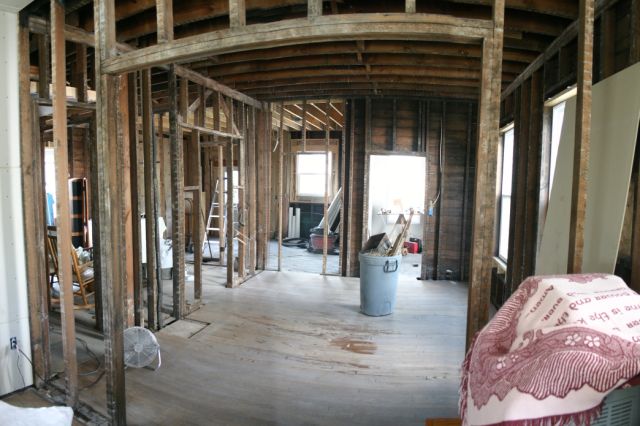
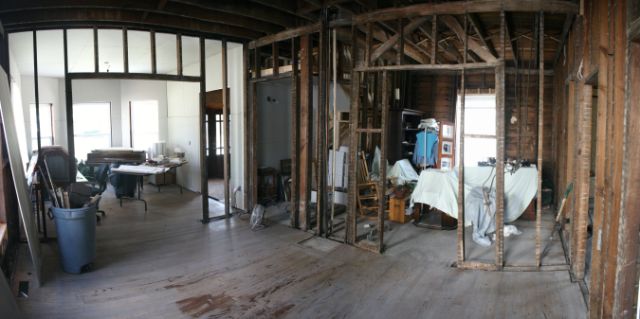
The house now has a nice open feel to it:
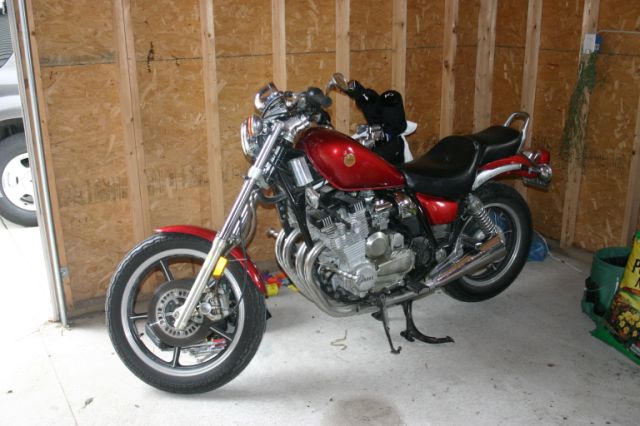
This is what I traded the dump truck for. My wife was thrilled.
JULY 2007
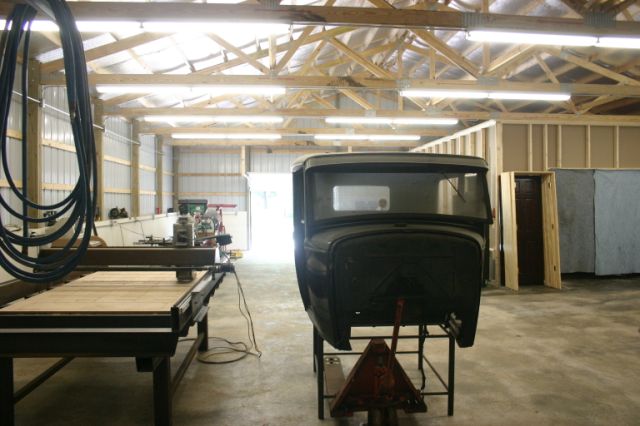
Workshop outside and inside finished:
NOVEMBER 2007
Finished the master bedroom and started the trim. I bought a moulder and cut my own casing stock and base cap from waste 3/4" lumber (I had lots left over from various projects). I essentially got all the casing and base cap I needed for the three bedrooms from the waste lumber.
The casing around the doors and windows start with a 3-1/2" wide piece of 3/4" MDF ripped from a 4x8 sheet. On top of that I placed the standard casing stock. It looks really nice and much more substantial than the casing stock alone. The baseboards are the same 3-1/2" MDF with the base cap on top:
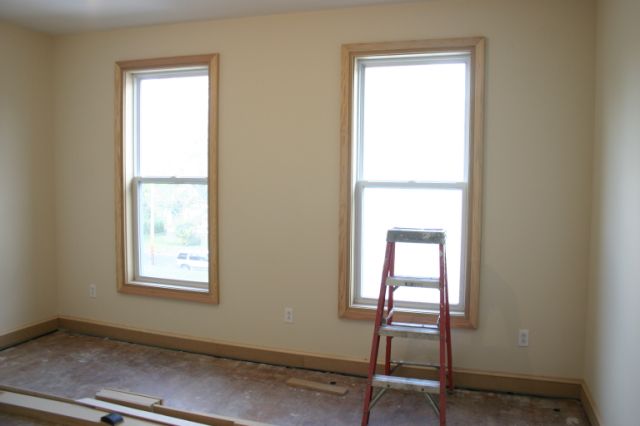
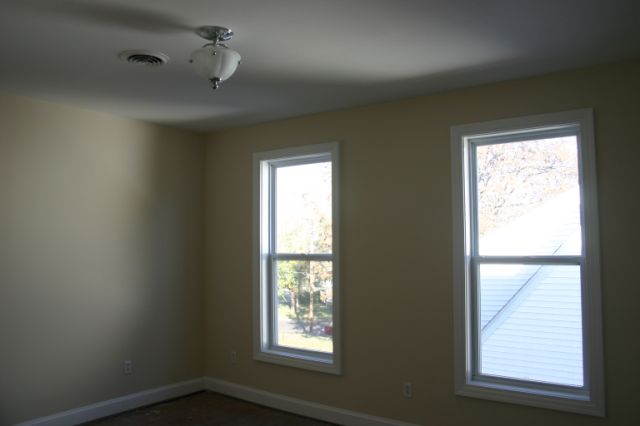
It all comes together once painted:
DECEMBER 2007
90% finished... 90% to go...
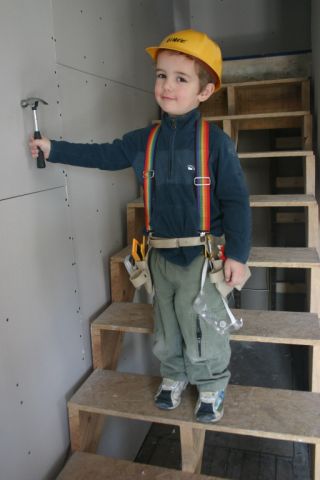
This is Eli and he was born into this project. It took us less time to build him than it has to finish this house. Gesh!
FEBRUARY 2008
Drywall in the Dining Room.
May 2008
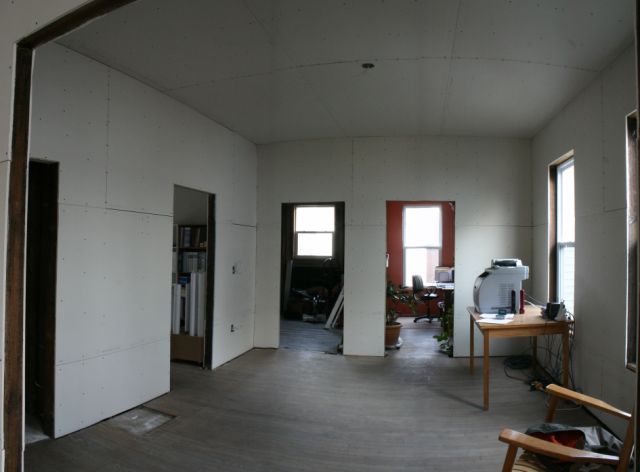
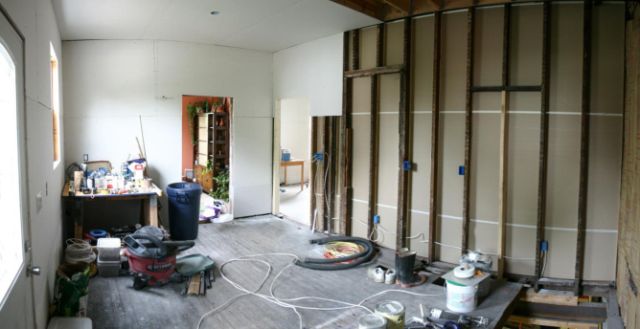
Finally getting to the kitchen! It seems that the kitchen had to be gutted as one of the first things so that the upstairs rooms could be completed but its one of the last rooms to get finished. For the last THREE YEARS the kitchen has been in our partially finished basement.
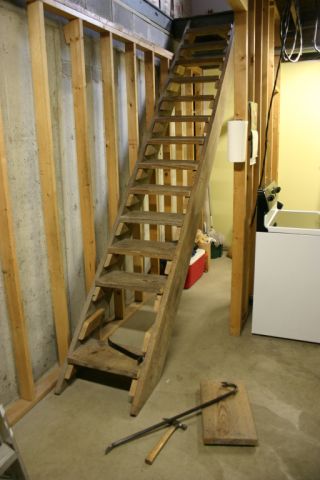
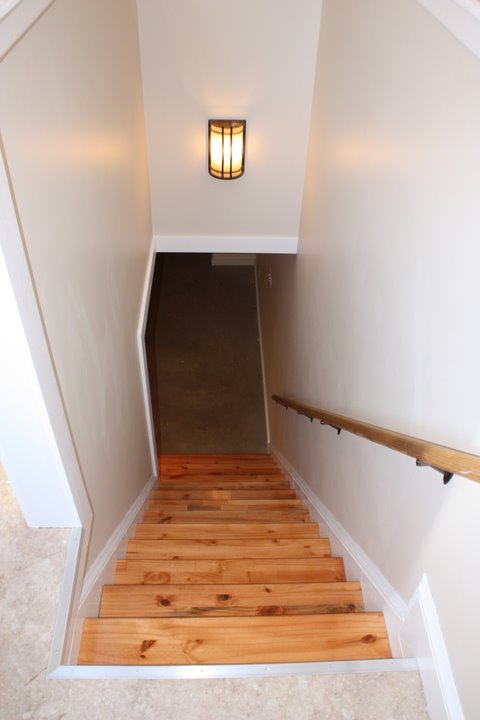
But then again, I can't really finish the kitchen ceiling until the plumbing and wiring for the master bathroom above is complete. I can't finish the kitchen's west wall until the basement steps are at least roughed in. So out come the temporary steps (after five years).
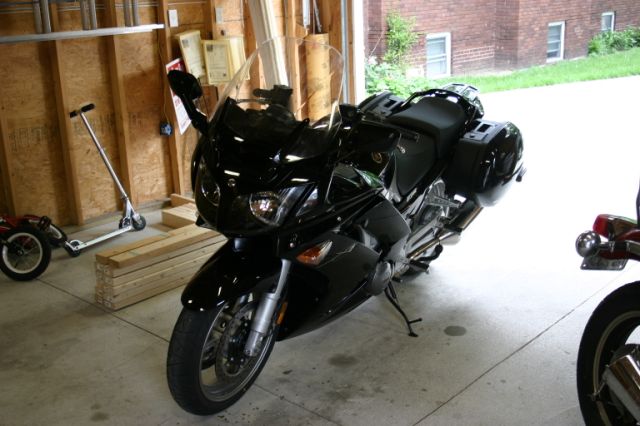
The motorcycle that I got from trading my dump truck got me hooked. After a year of riding, I upgraded to the Yamaha FJR1300. Again, my wife was thrilled.
November 2008
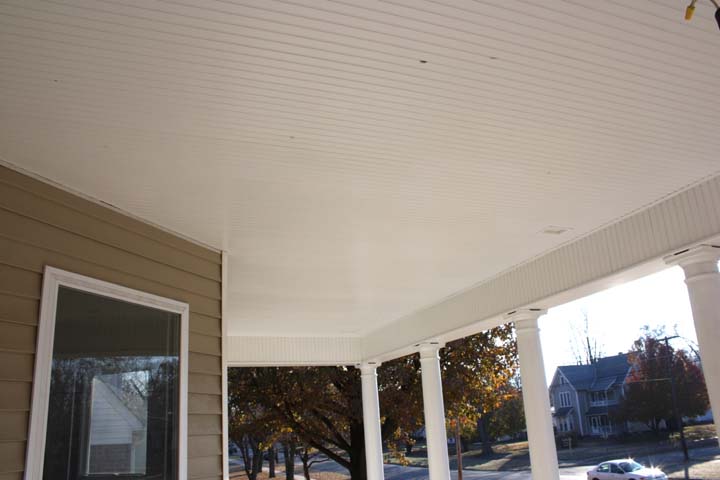
I hung beadboard on the porch ceiling. Finishing this step allowed me to paint the ceiling and finish the porch trim. I was going to keep on going and install the balustrade, but it got too cold to paint. So I moved inside.
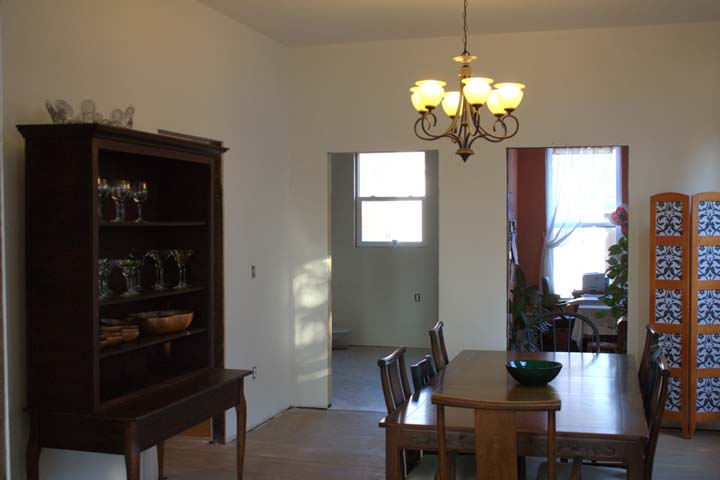
After eight months of bare drywall in the dining room, I mudded and painted. The walls in this room are not yet finished. I plan to install a chair rail, raised panels, moulding, and repaint. This will have to wait until I get that trim-work milled at my shop.
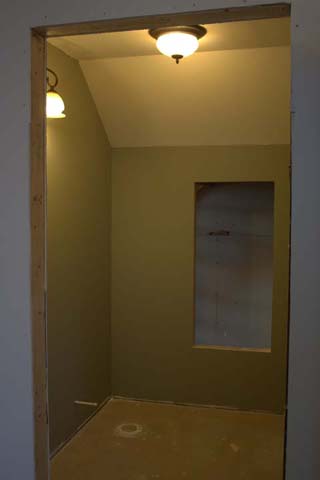
The little toilet off of the dining room was also given the works.
2009
A lot of small projects were completed, including mudding and painting several rooms, installing trim, general finish work (which seems to go on and on). I also had the roof re-roofed and a new soffit and gutters put on... but for roof work I actually hired someone for once!
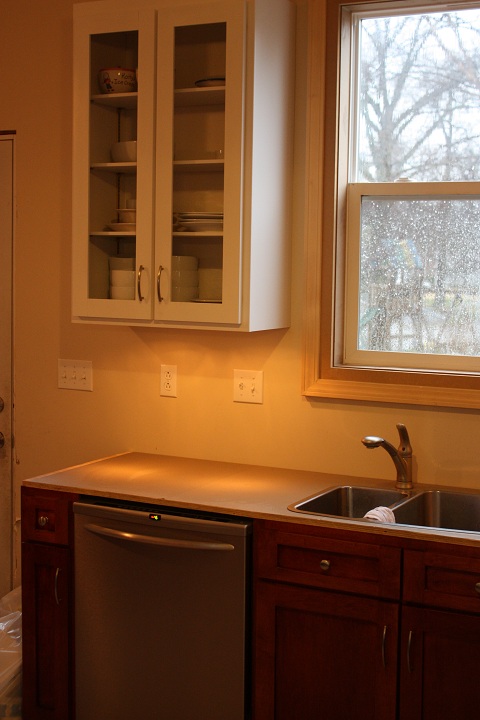
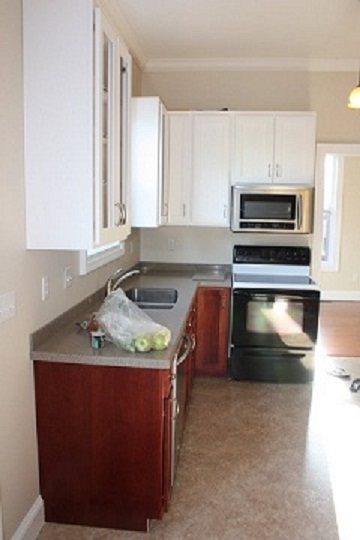
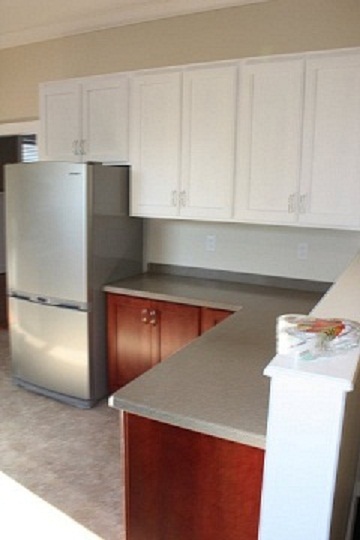
The kitchen cabinets were installed, and I installed undercabinet puck lights throughout the whole room. Those lights are all controlled with one dimmer switch, which is a real nice feature. I installed 3/4" plywood over the base cabinets in preparation for a concrete countertop. This I'll build one of these days.
2010
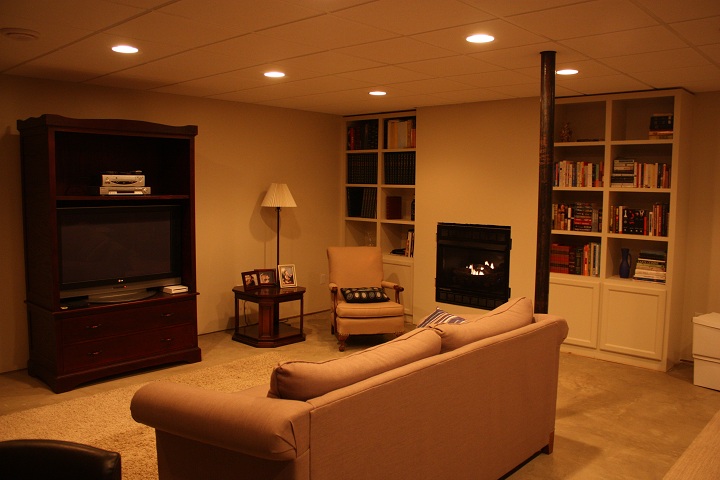
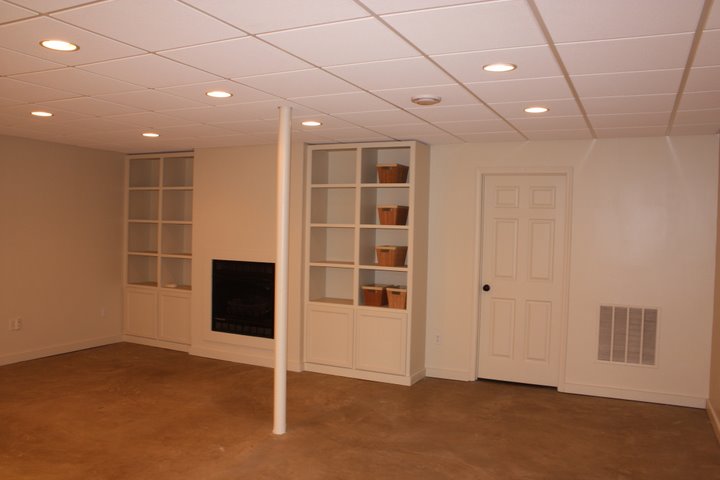
I repainted the basement, hung a drop ceiling, framed-in a gas fireplace, and built some built-in shelves. The new shelves have allowed us to finally unpack some boxes which have been in storage for years. I forgot how many books and photo albums we had.
I wired the recessed lights on a couple of dimmer switches so when it's movie time, I can turn most of them off and have only a few side ones on dim and make it like a real theater! Or when it time for a Yoga video, set them all on medium and put the fireplace on low and have a nice relaxing space.
Usually, this is either where we send the kids or where we hide from the kids.
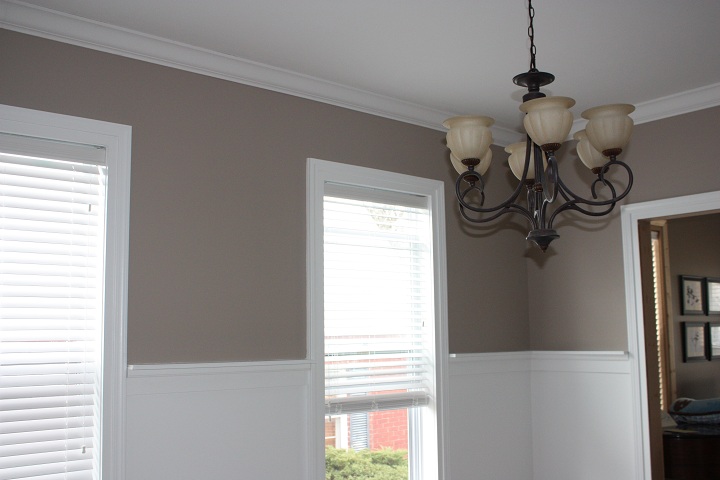
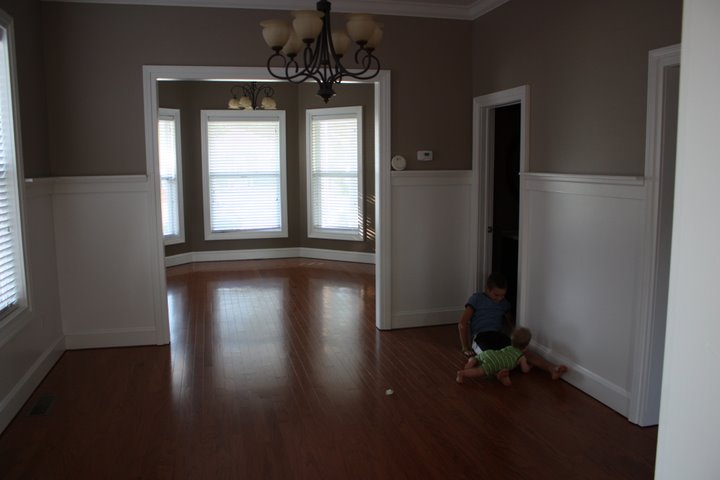
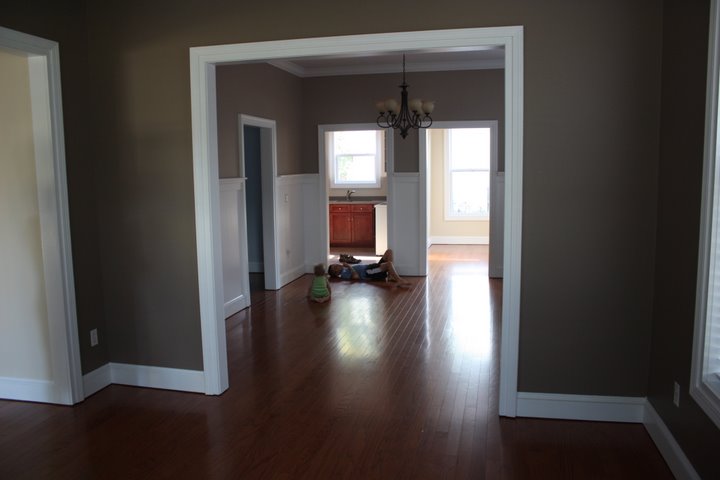
With the 5" crown moulding, the dining room is a nice example of how the rest of the main rooms should look. To jazz up this room, I surrounded the room with a picture rail. The picture rail is somewhat like a chair rail, but is a continuous shelf installed higher on the wall (my wife has already started setting family pictures on it). With my 10 foot ceilings, it looks more proportional than a short chair rail and there were too many doors and windows to consider trimming out panels.
August 2010
We decided to move.
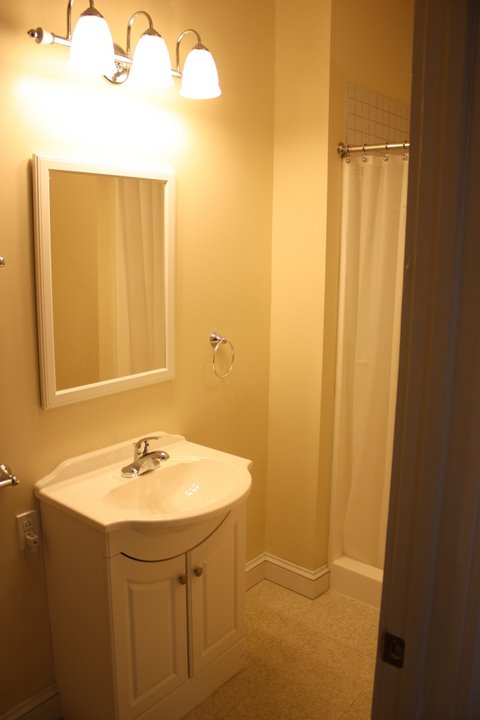
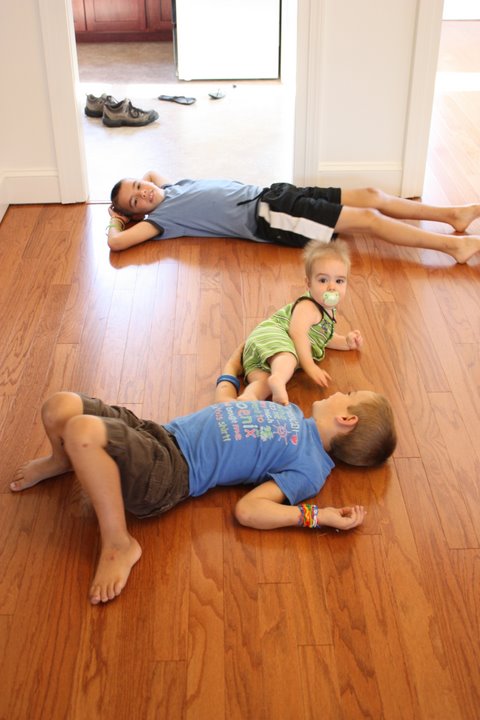
In only a few weeks, we finished everything that we had been putting off for years and, with a few exceptions, completed the house. After nine years of work, we never got to live in it completed.
Leaving Du Quoin was easy. Leaving my parents (who live a block away), leaving our friends, and leaving this house was very, very hard.
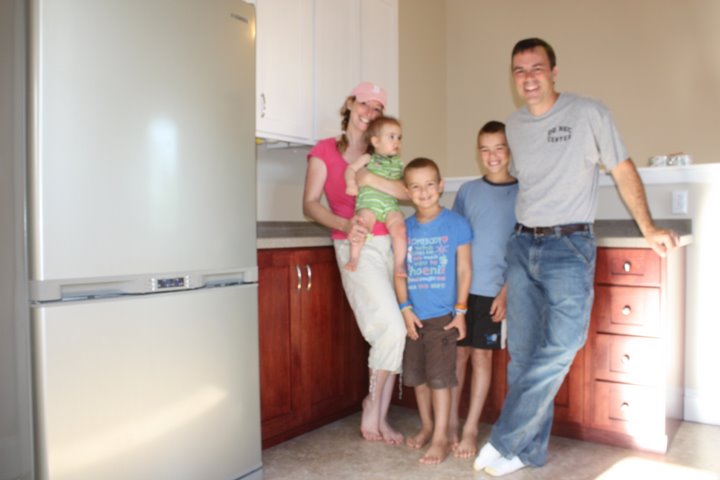
These pictures were taken moments after saying goodby to my Mom and Dad and moments before we started the road trip to our new home.
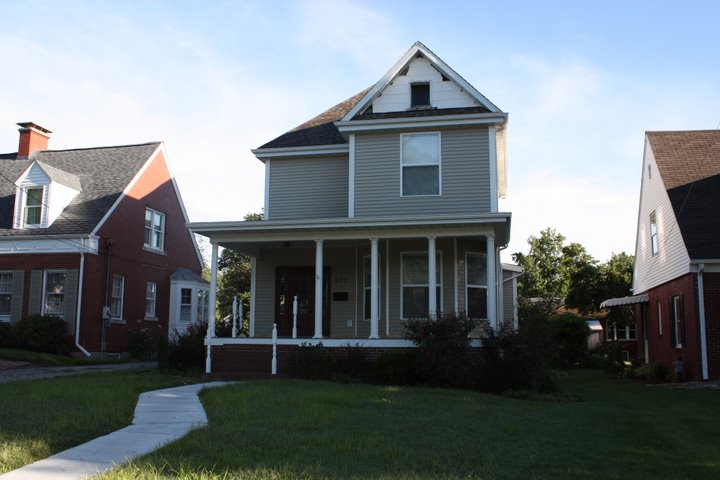
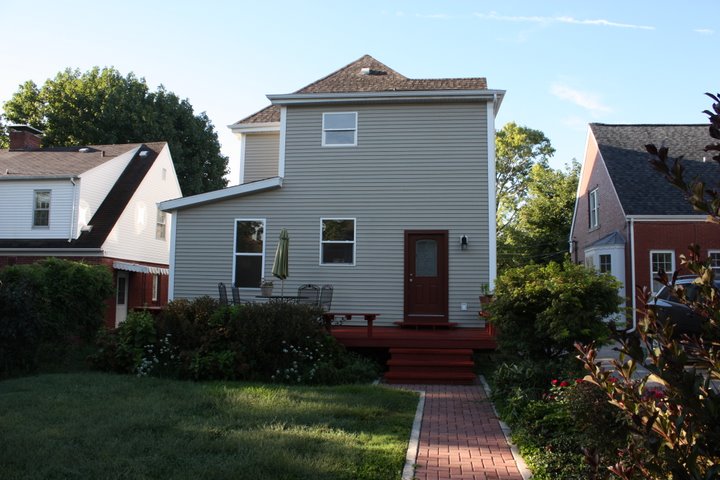
goodbye old house