WORKSHOP AND TOOL SUGGESTIONS
WORKSHOP
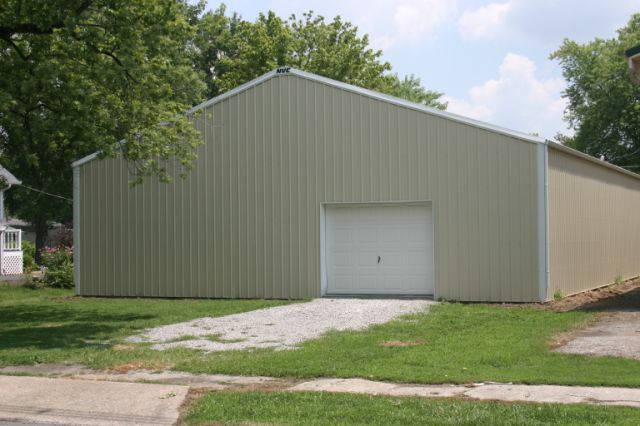
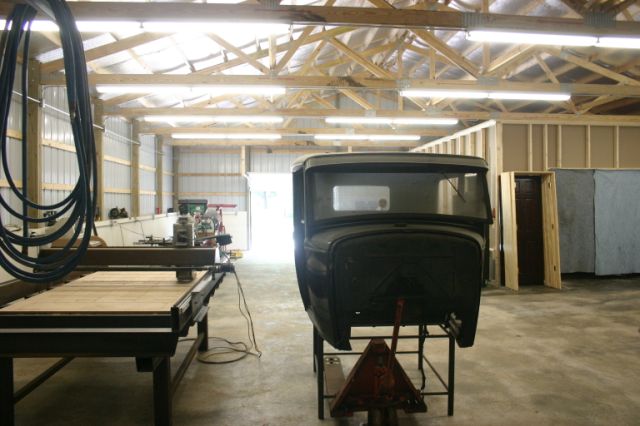
Working out of a small garage or a basement is just frustrating. After years of doing just that, I decided to invest in a workshop. For rebuilding cars or building airplanes, the 40'x60' seems to be about as small as I wanted to go. By the time I filled it tools, built some worktables, put a small finishing room in, and disassembled whatever car I was working on, it was comfortably filled. I also put in two garage doors, one at each end. This not only lets me drive through if needed, but allows both to be open for a breeze.


For painting or media blasting, I put in a 22'x14' finishing room. This keeps overspray and dust somewhat confined. I did put in a 2000 CFM vent/exhaust fan that uses eight 25"x16" filters to capture overspray and dust. The unfiltered make-up air is pulled in from the shop and if I'm painting, the main shop doors are open to the outside. It is in no way an OSHA compliant paint booth and I would never consider using this on a professional level (although it's nicer than the ones in the two autobody places down the street).
Shown unfinished in the below picture, I did finish it with drywall and install lights. Although the large opening is sized for a 7'x9' garage door, I simply installed a curtain.

MEDIA BLASTING
Every once in a while I have to media blast and paint something. I only do this as an ancillary activity as part of a larger project so I by no means have or use professional equipment. However, I do have enough experience to know that the $13 WalMart siphon sandblaster SUCKS. It's not really worth the $13 you pay for it; it's just a waste of time. What I use is the $100 pressure pot that any Chinese tool outlet will have (Harbor Freight, Tool Crib, EBay, etc.). What they don't mention and very rarely outright provide is replacement nozzles. If you are lucky, you'll get a good hour or two before the orifice is opened up to the point where your air compressor can't keep the pressure up. The best place (and only place) I have found for the cheap replacement nozzles is Harbor Freight - a 10 pack was $15 plus shipping.
For media I mostly use clean sand. I've used "play sand" or "medium silica". Cheap bulk sand is too full of dirt and large pieces. I also screen the sand prior to use, even when it is new. To do this, I have a piece of metal screen-door screen that I drape over a 5-gallon bucket and hold in place with a bunge cord. I just pour the dirty sand through the screen and sometimes have to work it through with my hand. The cleaned stuff goes right in the pressure blaster.
For aluminum or soft metal parts, actual sand is a bad idea. The sand embeds itself in the surface (not that you can see it) and on an internal engine part this is really bad. When the engine warms up, the aluminum expands, the sand comes out, and now you have sand inside the engine.
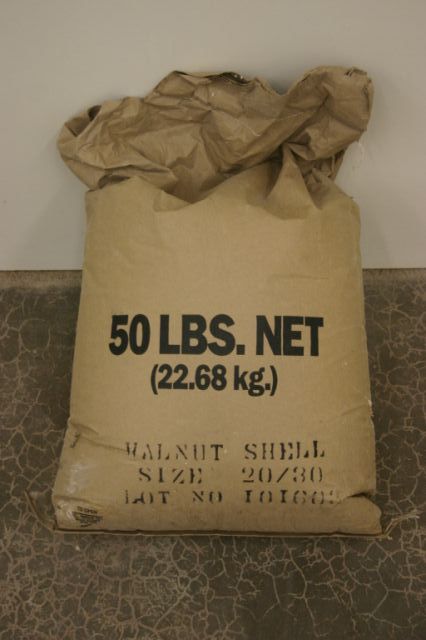
The appropriate material on aluminum or soft metal is walnut shells. They are much softer and don't embed themselves in the metal. They also don't generate any silica dust which is the major hazard with sand.


I typically sandblast in my finishing room. When finished, I just sweep the floor and screen all the sand or walnut shells and reuse them. What was is also handy is a cabinet like the one I have plans for here:
WARNING - sandblasting with silica sand generates dust that is too small for your lungs to cough up, similar to asbestos. The name for this is Silicosis and it will cause major damage to your lungs. A dust mask doesn't help and neither will your painting mask (read the labels, Not For Sandblasting) since the dust is smaller than those filters are able to capture. The most appropriate mask is a fresh air mask.
AIR COMPRESSORS
For years I worked with a "6 peak horsepower" compressor. I put that in quotes because just like every one of the entry level compressors what they call it and the actuall horsepower are two VERY different things. The "6 peak horsepower" compressor could keep up with the sandblaster until the 1/8" nozzle opened up to 3/16" (which wasn't long). It could also run my paint gun but only if I didn't have anything large to paint. Essentially, the compressor motor could provide about half of the air I needed and the other half would come from the tank. I would have to work for a few minutes and then wait for a few minutes to let the compressor motor catch up - not good when you are painting.
If you are going to compare compressors, NEVER use the name that they give. "6 peak horsepower" YEA RIGHT!
You can look at their CFM/pressure ratings, such as 10 CFM at 40 PSI, but not all compressors list that rating. Plus, they are already lying to you about the horsepower so who's to trust their air supply rating.
I compare compressors based on their electrical use; the electrical draw of the motor tells the story. Plus, a motor's nameplate information is generally governed by some other agency and is probably accurate. Take that "6 horsepower compressor", the motor's nameplate stated that it used 15 amps at 120 volts. That calculates to 1800 watts (volts times amps). Google tells me that 1800 watts equals 2.4 horsepower (try it... type in "1800 watts to hp" in the Google search bar). So how in the hell can a motor that uses 2.4 HP of electricity provide 6.0 HP? Actually, electrical motors are typically about 80% efficient so it really only provided about 1.9 HP of work. Since the compressor body (the pistons, pump, valves, etc.) consume some of that work in a form of heat, the actual amount of work available in the form of compressed air is less than that.
So lets assume that for all the compressors we are looking at, that the electric motors and the compressor bodies all have about the same efficiencies (probably something like 55%-65% total). This means that all you have to do is compare the electrical useage, in watts, to get an idea of how much compressed air different compressors will provide.
The compressor I use now is a 240 volt, 15 amp (3600 watt usage) and I have no problems with my HVLP paint gun or pressure pot media blaster.